Capture Contour and Surface Roughness in One Measurement Trace
The FORMTRACER Avant Series, which provides contour and surface roughness measurement in a single unit, now includes the addition of the H-3000 Detector, a hybrid detector that can measure both surface roughness and contour simultaneously within a single trace.

H-3000 Drop-In Upgrade: Hybrid Precision, Zero Downtime
The new Mitutoyo H-3000 Detector can be mounted to other Mitutoyo FTA series equipment you already have to provide contour and surface roughness measurements without having to purchase and install an entirely new system. Like other Mitutoyo FTA series of form systems, the H-3000 detector can be swapped out without turning the system’s power off for a much faster, more efficient way of performing many different types of form inspections.
Complete Data with One Measurement Trace.

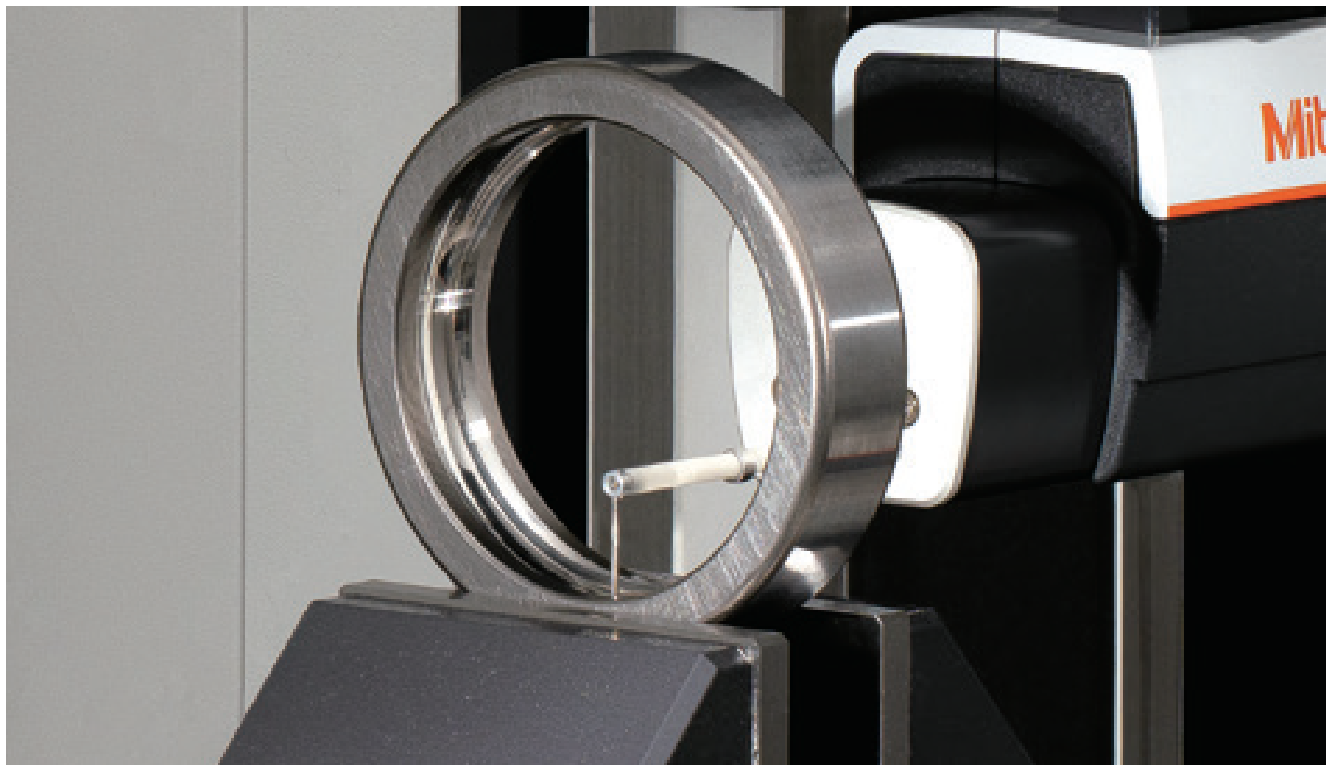
Bearing Measurement
Bearing rings (outer ring/inner ring) are required to have a shape and surface roughness that will allow the lubricating oil to work as an effective preventive measure against seizure and wear. The H-3000 detector has both a wide measurement range and high resolution, allowing contour and surface roughness to be evaluated efficiently and with high accuracy in a single measurement.
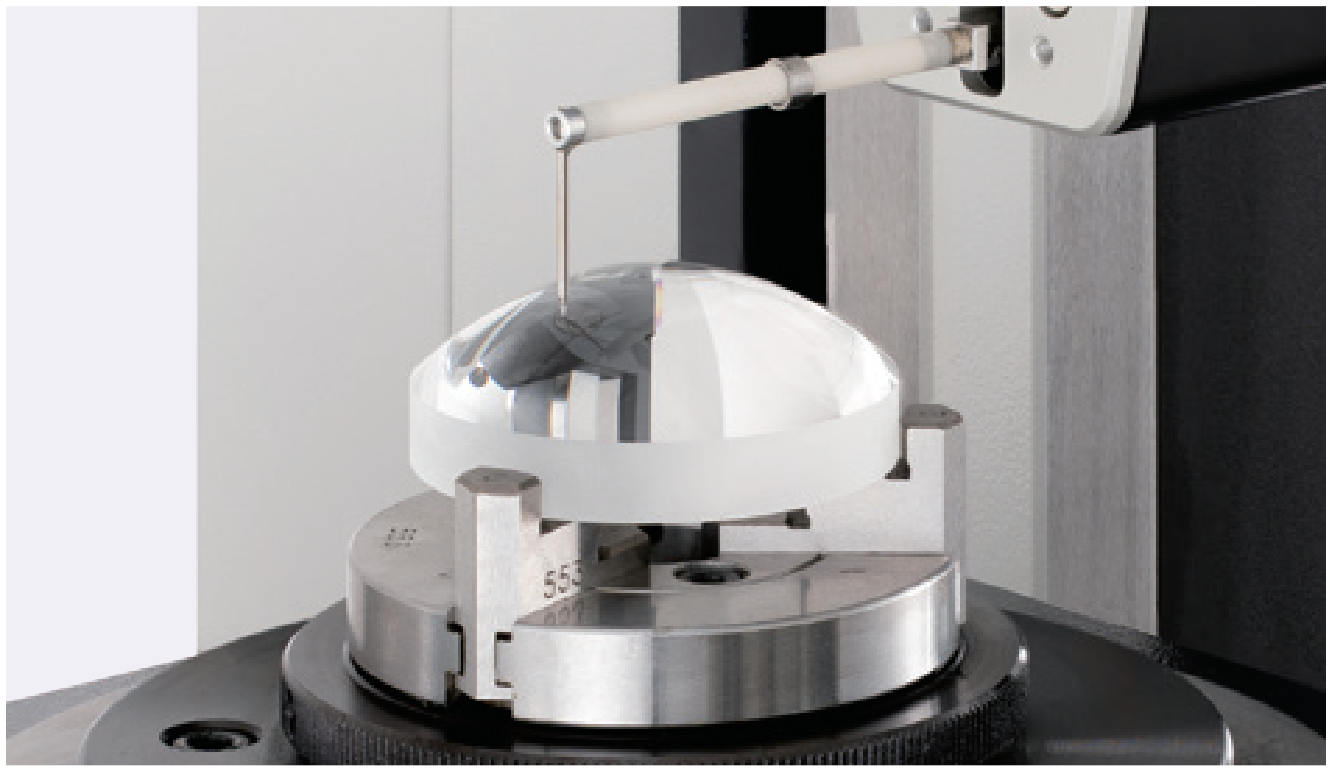
Lens Measurement
Lens measurements require a high level of shape accuracy to achieve the necessary optical performance. The H-3000 detector achieves high-accuracy and high-resolution shape measurement, allowing accurate and precise evaluation of PV values by comparison with design values. It also supports analysis of surface roughness and various dimensional analysis functions.

Dual Measurement, Single Setup. Done.

FORMTRACER Avant H-3000: Operate Smarter, Measure Sharper
When it comes to detail and functionality, the FORMTRACER Avant H-3000 innovates form measurement with easier operability, greater accuracy, and more powerful, time-saving functions and features.
Purpose-Built. Feature-Rich. Proven Performance.
Remarkably Improved Workability
The drive unit inclines up to ±45˚to easily measure inclined surfaces without using a jig; optional detector head can be changed without turning the power off as well, saving even more time.
Improved Stylus Speed
The retraction speed of the stylus is approx. 2x to 3x faster than conventional models, while the stylus speed for contact has been slowed in consideration of measurement safety.
Unprecedented Accuracy
A newly developed arc scale helps the FTA-H3000 obtain even better precision and accuracy.
High Efficiency
The addition of the new Hybrid detector allows for contour and surface roughness measurements in one trace.
Improved Design
System incorporates a cable-less design allowing part set-up without concern for obstructions and snagging on unprotected detector cables.
Beyond Normal Measurements
The best-in-class Z-axis measurement range can be increased using optional extra-length styli.
